
OK first you should download iColorFolder. This can be found at:
http://icolorfolder.sourceforge.net/
This program is awesome. It works great and they have some very pretty cool folder icons. Plus there are extras you can download if you still don't like any of them. Make sure to download 1.4.2 or the newest version. If you go to the Download section there is an "Additional Skin Pack" You should download this also.
Download, unzip, install. Now, if you did our previous tutorial, which was changing you PC's shell to a Vista shell, then there are Vista folder icons in here. It's perfect for changing it to Vista. No programming or anything.
Now pick your default icon set you want. In my case, Vista. Here is a screen show of what my computers My Documents looks like:
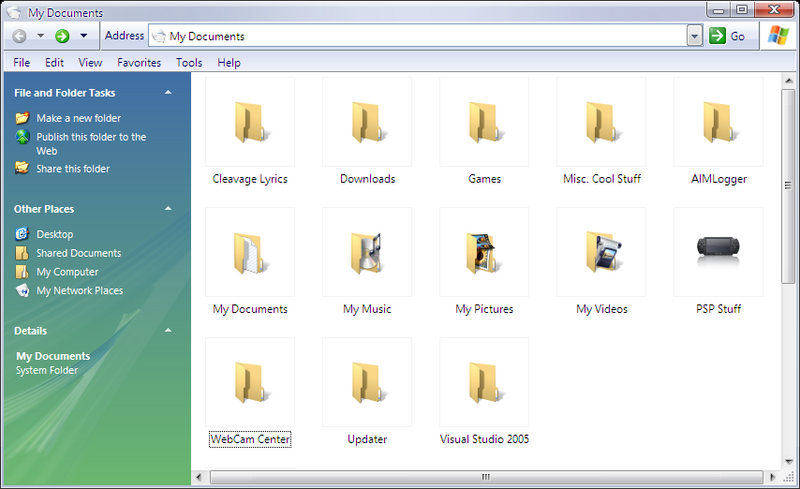
Pretty cool aye? There are more icons in case you get tired of these. If you downloaded the Skin Pack then just double click on it where ever you downloaded it and it should be just like a normal install screen. Just follow the instructions and you'll be done in seconds. Then all you have to is go to Start > All Programs > iColorFolder > Skin Selector and just pick one out.
The next part to this is pretty cool. Go to a random folder and right click then go to color label. By just clicking these you can color code you folders. This is similar to the Mac OS X. Click a color to code it by and voila!
---
For the next part it gets a tiny bit more technical. Nothing like changing the shell though. So lets say you want to change the icon for ALL of the .wmv files you have? Take a look at my finished videos for my site ojproductions.net:
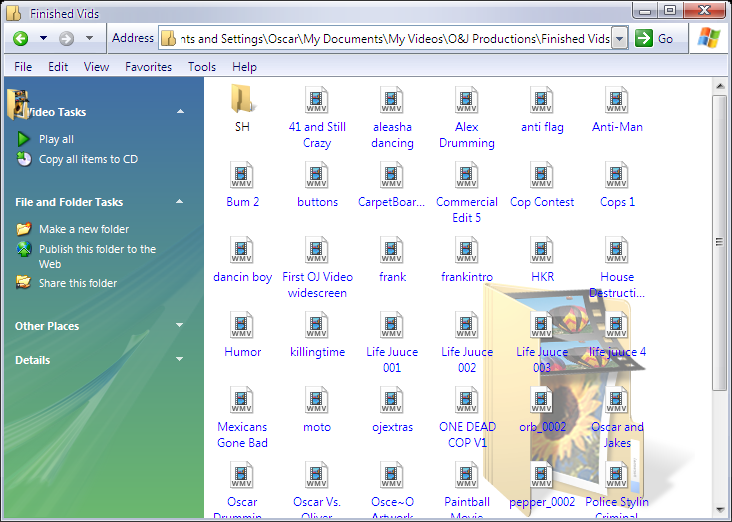
I hate those ugly icons to say the least, so I will change them. Not one by one by one, but just follow these steps and all those icons will change along with every file after that with that extension.
First open a folder. It doesn't matter what one. I will use my documents.
*Open My Documents.
*Then in the tool bar above go to Tools.
*In the pull down menu go to Folder Options.
*Click on the File Types tab (this might take a second to load)
*Find the file type you want to change click on it once.
*Go to Advanced below.
*Go to change icons.
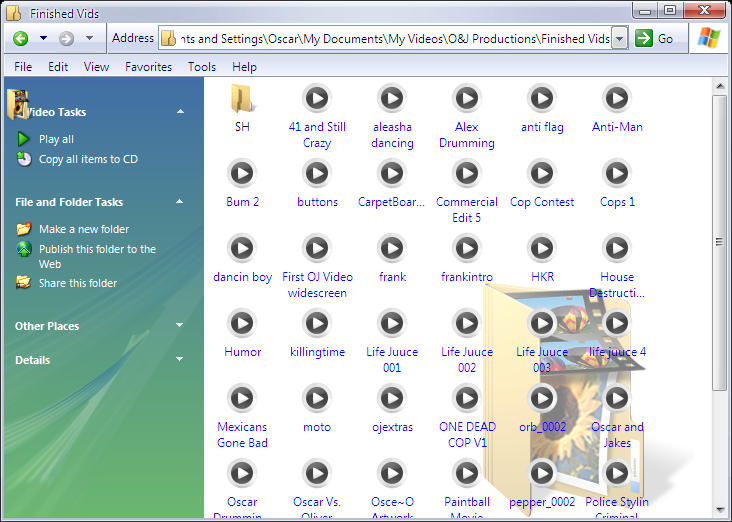
Here we will choose an icon. My icon is a black and white Windows Media Player icon. If you would like some icons here is one of my favorite sites:
http://www.vistaicons.com/
I chose the Crystal B&W icons. You will want to save these to a location where you will not move them. If you move them the files don't know what icon you want there and you will lose your icon. I put them in a folder located in C:\Windows\icons
OK back to where we left off. The icon I chose is inside the folder I just downloaded. If you downloaded the same one as me it's inside that folder in the ICO > Softwear > Divers > wmp.ico
Make sure to use ICO files. They will almost always have those files included.
Now click OK then close.
Here is my end result:
Hope you had some fun with this tutorial. Remember emails always welcome. Questions or comments I'm always open to emails.

No comments:
Post a Comment